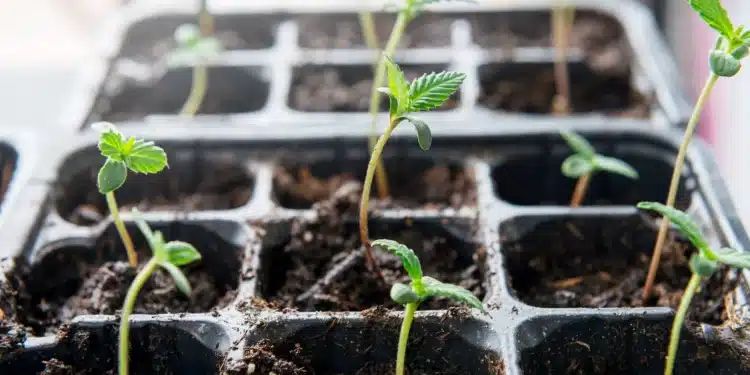
This guide unpacks how to germinate cannabis seeds. When you germinate a seed, you usher it from its seedling stage to its sprout stage.
We’ll walk you through:
- How to choose which strain to start with
- What cannabis seed options you might choose from
- How to choose a growing medium
- Three step-by-step methods to germinate your cannabis seed
This guide addresses growers’ most common seed-germination concerns. Each step is explained in enough detail to follow, while still keeping things simple.
Choosing Cannabis Strains
Growers have cultivated over 700 strains of cannabis. These hundreds of strains can be divided into four categories: Sativa, Indica, Ruderalis, and Hybrids.
Cannabis sativa seeds grow best in hot climates. Sativas are the breed most frequently used in clinical trials. Their cannabinoids cause an uplifting high.
The FDA-approved drug Epidiolex treats epilepsy. The active ingredients in that drug are derived from Cannabis sativa plants.
Cannabis indica plants produce relaxing cannabinoids. These plants do better in colder climates. Cannabis indica strains are more likely to increase appetite and sleepiness.
Cannabis ruderalis is the only naturally auto-flowering cannabis plant. It has adapted to extreme conditions.
Cannabis ruderalis is often classified as “hemp.” Cannabis ruderalis flowers have a high level of CBD and a very low amount of THC. As such, this plant is legal to grow in more regions than other varieties.
Hybrid strains bring together the best of different categories. There are too many diverse hybrids to summarize. Research any strain you want to plant to understand its unique traits.
Cannabis Seed Types
Cannabis is a single plant species. But, horticulturalists have bred cannabis plants to foster unique seed types.
Each cannabis seed type has different traits, so you’ll need to vary some of the particulars of your approach when you begin germination. Some variation affects flowering.
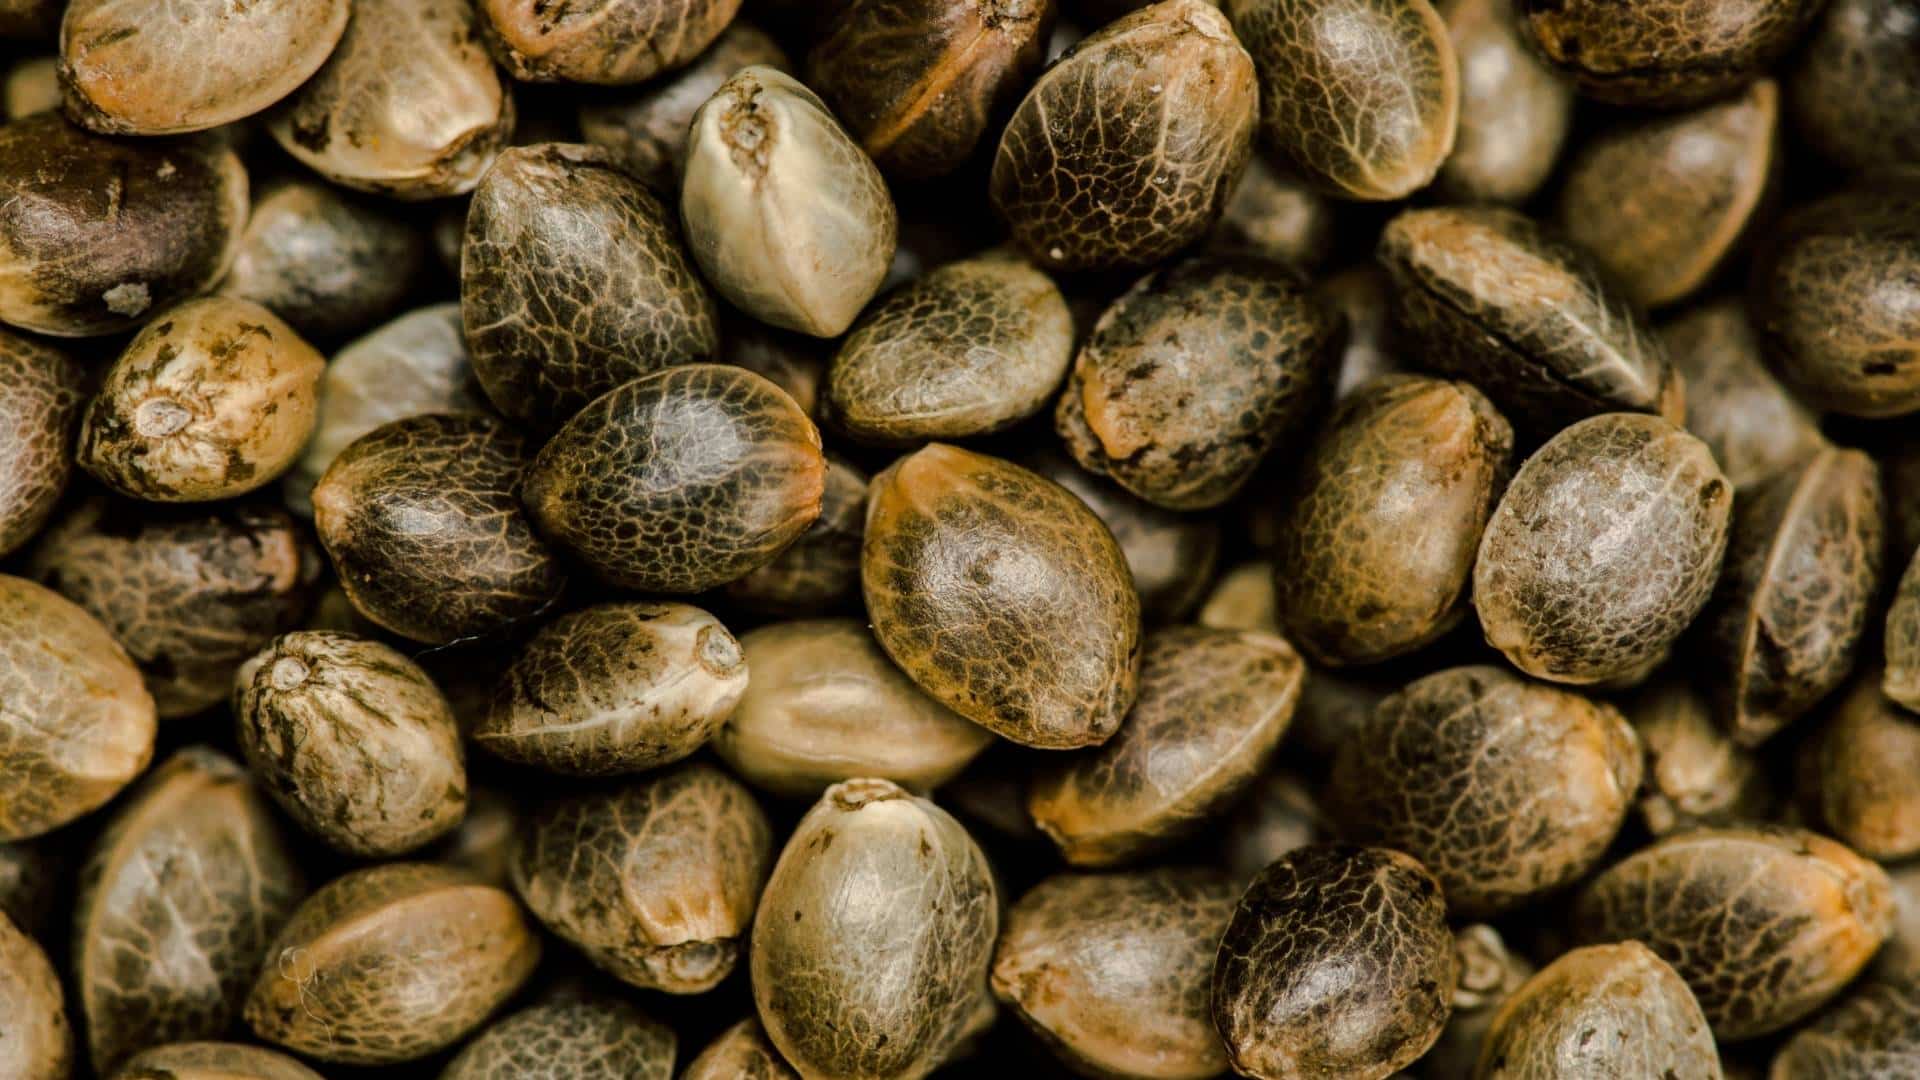
Flowering is when cannabis begins to bud. You harvest cannabis when the plant’s buds reach full maturation. This is at the end of the flowering stage.
You can also breed your plants in the flowering stage. Let’s explore the unique properties of four cannabis seed variants.
Autoflowering Cannabis Seeds
The Cannabis ruderalis variant produces auto-flowering cannabis seeds. Autoflowering cannabis seeds are ideal for beginners.
These seeds flower automatically when they hit a certain age. They flower regardless of how much light they get. This differentiates them from photoperiodic cannabis seeds.
There are plenty of upsides to growing Cannabis ruderalis. You can harvest bigger yields per season. They’re also smaller and more discreet.
The most significant upside, though, is Cannabis ruderalis is a high-CBD breed. As a CBD-rich variety, this plant is often cross-bred with other Cannabis sub-species. It’s used to produce hemp and CBD oil crops.
The primary downside to auto-flowering cannabis is it’s a low-THC variant. You also get less THC per harvest, as well as per plant, because the adult vegetables are small.
Photoperiodic Cannabis Seeds
Photoperiodic cannabis seeds rely on specific light patterns to tell them when to bloom. These seeds are also called “photoperiod cannabis” seeds. Most people would refer to these as simply regular seeds.
These seeds begin to flower only when there are fifteen hours of daylight per day–or less. So, to grow photoperiodic seeds, you may need artificial light.
An artificial light cycle with twelve hours of “daylight” each day, then twelve hours of darkness, is ideal for photoperiod seeds. The flowering phase tends to last about eight to twelve weeks for most of these plants.
You can grow photoperiodic cannabis plants outdoors. You will typically plant them after the Vernal Equinox. Then you can harvest them in the Autumn.
Feminized Cannabis Seeds
Feminized seeds are half-cloned cannabis seeds. These seeds will only produce female offspring. This is ideal for growers who want to harvest all of their crops.
Growers create feminized cannabis seeds by treating a female plant with a silver compound. This causes the female plant to produce “male” flowers and pollen.
The grower will cross-breed the stable female plant with another female plant. This creates feminized seeds.
There are very few drawbacks to feminized seeds. They are more usually expensive than regular seeds and there can be a greater risk that they produce hermaphrodite offspring rather than female offspring. But, most seed breeders, especially high-quality breeders such as ILGM, mitigate this risk with a sophisticated feminization process.
Regular Cannabis Seeds
Regular cannabis seeds are unaltered. The only way to know if you’ll be growing a male or female plant is to put the seed in the ground and closely watch your plant. Especially for inexperienced growers, feminized seeds are a better choice than regular cannabis seeds. Few growers would recommend regular cannabis seeds. But, regular seeds are cheaper.
Choose Growing Medium
You can grow cannabis in one of four popular mediums. Soil, Coco Coir, Perlite, and hydroponic system. No matter where you grow your cannabis seeds, they need oxygen, water, and nutrients.
Hydroponic systems are self-contained water-based systems. They let you feed your plant nutrient fluid, grow cannabis the fastest, and also have some of the largest yields when compared to other growing systems.
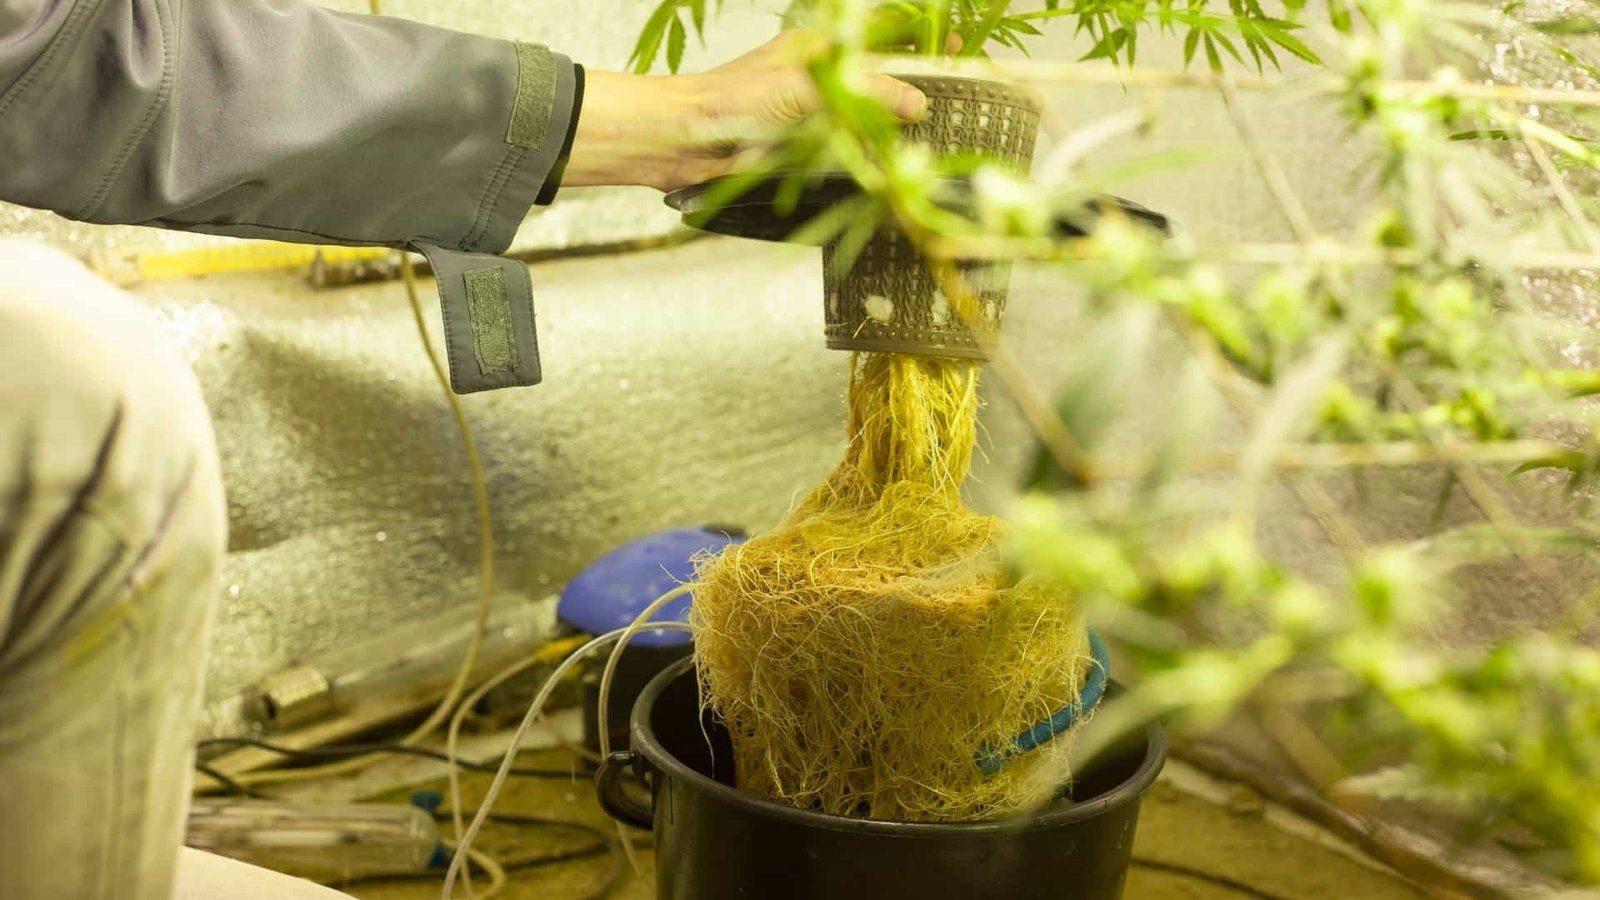
Some growers use products like Rapid Rooter. This improves cannabis seed growth in hydroponic systems. It helps the seed take root when you transfer it from its germination location.
Soil—particularly potting soil—is the most natural option. It’s the easiest choice, as compost is already nutrient-rich. Compost is already aerated naturally.
Perlite is a volcanic mineral. It’s a lightweight natural glass. Once manufacturers process it, it’s porous enough to aerate the soil.
Perlite also effectively drains excess water. It encourages roots to grow better than water on their own.
Perlite itself doesn’t have nutrients. So, you can’t use perlite long-term on its own.
But, you can mix it with soil. You can also integrate it into a hydroponic system.
Coco coir is a part of a coconut. Farmers derive coco coir from the material that protects the fruit of coconut.
Coco coir can help seeds transition to the soil. It holds moisture well. It’s also all-natural and organic.
How to Germinate Cannabis Seeds
Cannabis seeds take time to germinate. Depending on the variety, a seed might sprout in as little as twelve hours. Or, it might take up to ten days.
If you’ve been tending to your seeds for longer than twelve days, and they haven’t sprouted, the seeds have likely died. Try again with new seeds.
The seed environment is critical to germination. The environment must be warm, humid, and dark. If possible, germinate cannabis seeds in 77ºF (25°C) heat.
Aim for 90% relative humidity in the environment. Seeds are pretty resilient. However, once they germinate, they’re in a fairly fragile state.
You can tell a seed has germinated when it sprouts a taproot. This green shoot will develop into the stem of the cannabis plant. In the sprout stage, the cannabis plant has left its sturdy shell and is vulnerable.
The final step of most methods is to transfer the sprouted seed from its germination environment. You’ll move it to a long-term environment. The long-term environment must be nutrient-rich.
In this section, you’ll walk through three methods people use to germinate cannabis seeds:
The Peat Pellet Method is not compatible with hydroponic growing systems. The other two methods are compatible with most systems. As long as you transfer the sprout safely, they should work out.
Other germination methods, like the Cup of Water Method, are less effective. They may risk drowning or dehydrating the seed. These three methods balance the water, oxygen, and environmental controls.
Paper Towel Method
The Paper Towel Method is the best method for beginners. It doesn’t require any highly specific tools, and it is compatible with almost all long-term growing environments.
That said, some growers find the Paper Towel Method tedious. It requires frequent monitoring to prevent the seeds from dehydrating.
Also, beginning growers may struggle with the delicate sprout transfer process. Those growers might prefer the Peat Pellet Method, as that transfer process is less fragile.
To set up the Paper Towel Method, gather supplies. You will need:
- Paper towel
- Cannabis seeds
- Water spritzer (spray bottle)
- Lidded plastic container (or, two plates)
- Cup of room-temperature water (distilled)
- Tweezers
- Pencil or small stick
After you’ve gathered supplies, begin with step one.
1. Put the Cannabis Seeds on Paper Towel
Lay a paper towel flat inside the plastic container. Or, lay the paper towel down on one plate.
Make sure your paper towel has a thick ply. Or, fold the paper towel in half so it makes a thicker surface.
Use the water spritzer to spray the towel with distilled water. Spray enough that water seeps into the towel.
But don’t spray so much that the towel is soggy, or the water forms a puddle in the container. Aim for “damp.”
Put your cannabis seeds on top of the paper towel. Keep the seeds at least two inches apart from one another.
2. Cover the Seeds
If you’re using a plastic container with a lid, simply put the lid on the container. Enclose the damp paper towel and seeds.
If you’re using plates, flip the unused plate over. Rest the flipped plate on the plate holding the paper towel and seeds. Line up the edges of the plates, so the two plates enclose the seeds.
3. Store Seeds in a Warm Environment
Store the covered paper towel and seeds in a warm environment. As noted earlier, the ideal temperature is 77°F (25°C). Seeds can germinate in temperatures as low as 71°F (22°C).
If the container or plates are opaque, it should be a dark enough environment for the seeds to germinate. But, if the container is translucent, move it to a dark cupboard or closet.
4. Spray Paper Towel Every Few Hours
The seeds will absorb the water in the paper towels quickly. Open the container periodically. Spray the seeds enough to keep the paper towel damp.
You might have to spray the seeds every few hours. Try to spray the towel at least once overnight.
5. Wait for Taproot Sprout
Keep an eye (or camera) on your seeds. Seeds may germinate on the first day, or it could take a little under a fortnight.
As soon as the taproot sprouts, it’s time to transfer the seed. This is a green shoot that b=visible breaks through the seed’s outer shell.
6. Transfer Taproot to Nutrient Medium
If your nutrient medium is soil, Perlite, or Coco Coir, put it in a large pot. Then, use your small stick to poke a hole in the medium. Make the hole roughly twice as deep as the seed is wide.
Take your tweezers. Do not touch your seed with your hands. Use tweezers to gently lift the seed from the paper towel.
Set the seed in the hole. Place it taproot-side down. Carefully cover the hole.
If you are using a hydroponic chamber, the process is similar. Use tweezers to set the seedling in the hydroponic chamber. Then, carefully add the growing medium to the chamber until the seedling is stable.
Follow instructions from the hydroponic company. Add nutrients and water accordingly.
Peat Pellet Method
Peat pellets are compressed nutrient-rich compost prill. You can buy them at any gardening store.
The Peat Pellet method is not ideal for growers using hydroponic systems. They’re best transferred to soil, coco coir, or perlite.
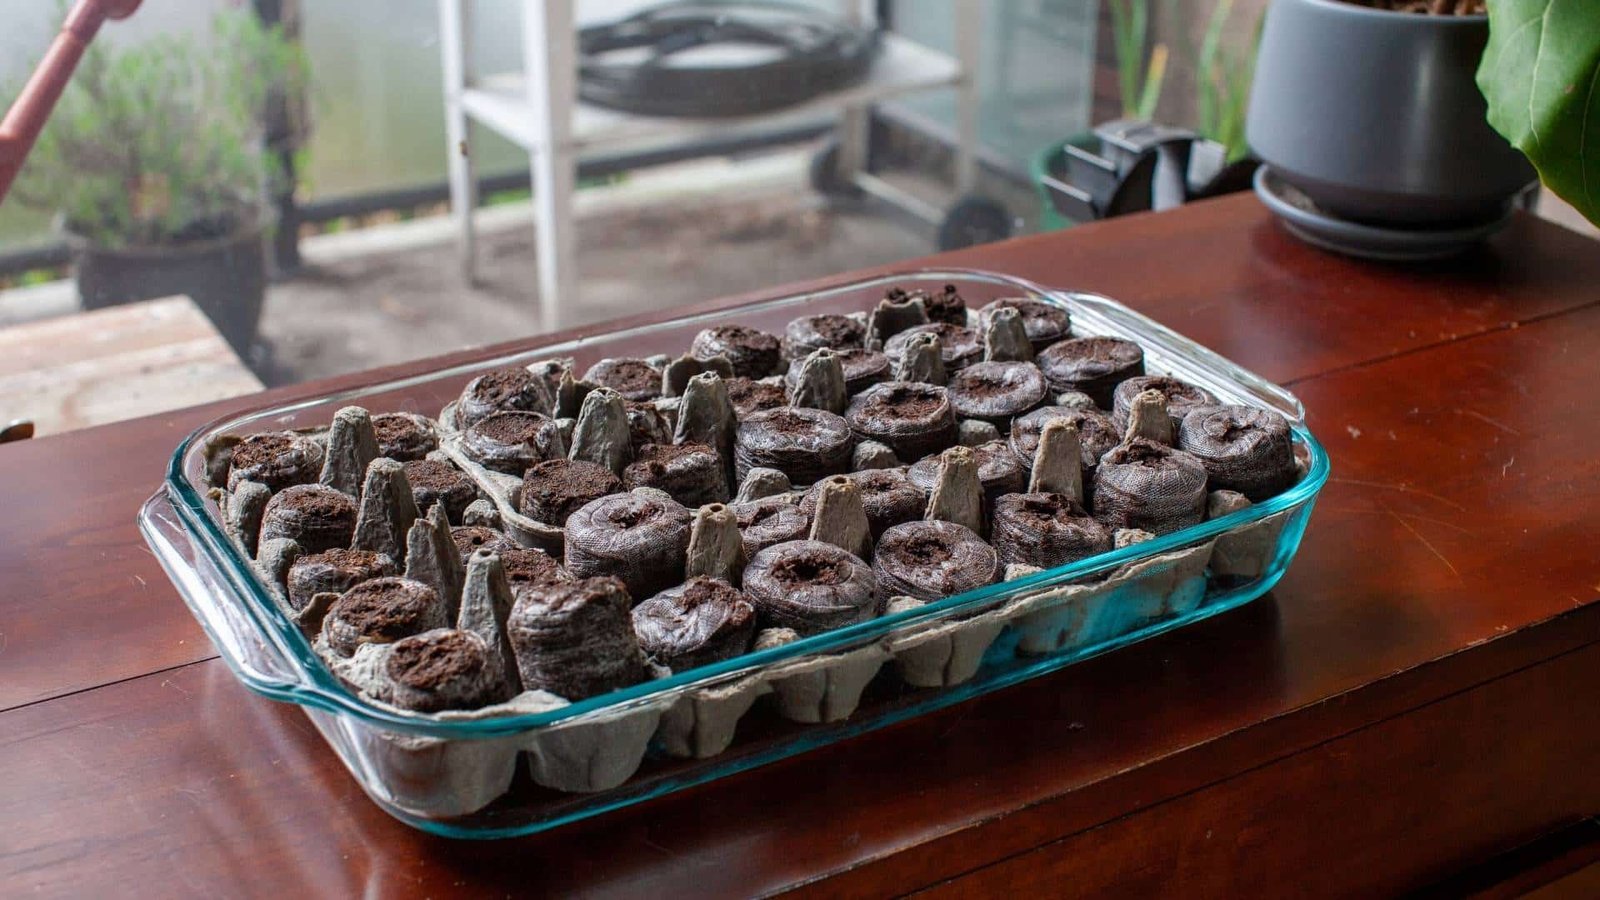
Beginners have more success with The Peat Pellet Method than with The Paper Towel Method. But, this method requires one specialized item: peat pellets.
To germinate cannabis seeds using The Peat Pellet Method, gather supplies. You will need:
- Peat pellets
- Tweezers
- Distilled water
- Direct light (sunlight or grow lamp)
- 240 grit sandpaper (optional)
This method has the fewest items and steps. Gather your supplies. Then, begin with step 1.
1. Soak Pellets
Soak the peat pellets in distilled water. Do this for ten minutes.
As the peat pellets absorb the water, they should expand. After ten minutes, remove the pellets. Let any excess water drain out.
2. Scuff Seeds (optional)
You may choose to scuff your cannabis seeds. This speeds up the germination process by enabling seeds to absorb water faster. It is optional.
To scuff a seed, create a small tube of sandpaper. Make the tube’s diameter slightly larger than the seed’s. Cut the sandpaper tube to be three inches long or shorter.
Place a seed inside the tube. Cover the ends of the tube. Then, shake it around a few times.
Do not over-scuff the seed. Err on the side of caution. If you’re worried about over-scuffing the seed, skip this step.
3. Place Seed Using Tweezers
Make a half-inch deep hole in each pellet. Use tweezers to make the hole.
Then, pick up a seed with the tweezers. Set the seed in the hole. Do this for each seed and pellet.
4. Keep Pellets Moist and Warm
Pellets should maintain their moisture for the entire germination process. However, if one seems to dry out, go ahead and water it. Water a pellet with distilled water. Keep your stream light.
Store the pellets in a warm place. Keep the peat pellets’ temperature around 73°F-77°F (20°C-23°C).
The pellets do not need to be in the dark. Feel free to warm the pellets in direct sunlight or under a heat lamp.
5. Transplant Sprout and Pellet
A cannabis seed will likely sprout within seven days. When it does, do not remove the seedling from the peat pellet.
Instead, transplant both the pellet and the seedling. Move it into the growth material you want it to live in long term. Peat pellets work best when transferred into the soil.
Rockwool Cube Method
The Rockwool Cube Method is less beginner-friendly. It requires specialized equipment. It is also called the Stone Wool Method.
A Rockwool cube is a man-made material. It’s a cube of interwoven fibers. Engineers created these cubes to insulate and soundproof rooms.
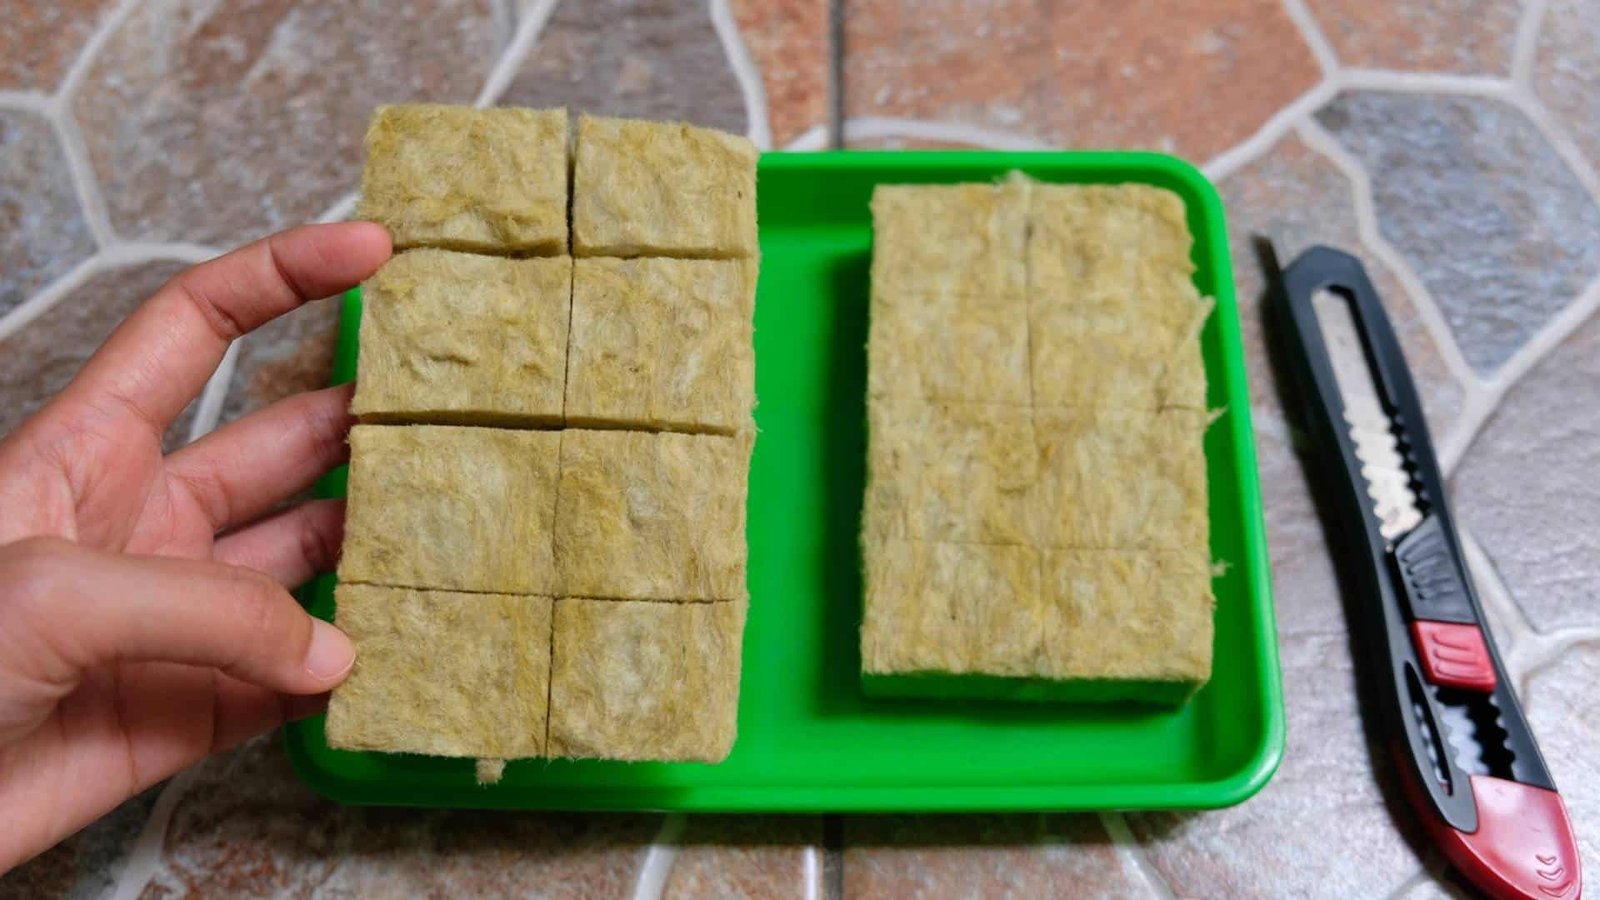
Rockwool cubes are useful in horticulture because they give plants the right amount of moisture and air as they grow. Rockwool is particularly useful if you want to grow Cannabis sativa in a greenhouse.
To germinate cannabis seeds with the Rockwool cube method, first, gather supplies. You will need:
- pH meter
- Distilled water
- Acidic fluid (lemon juice, citric acid, vinegar, etc)
- Rockwool cube
- Seed starting tray (i.e. planter tray, 1020 tray)
- Humidity cover (domed plastic lid)
Note that you can use a large, lidded Tupperware container instead of trays. Once you have your supplies, start with step 1.
1. Calibrate pH Meter
Use the pH meter to test the pH of your water. Continually measure the pH of the water as you alter it. You will use the water to soak the Rockwool Cube.
2. Attain Ideal pH
Rockwool typically has a pH of 7.8. There is no single, standard pH level that works best for all cannabis seedlings.
However, most cannabis plants grow best when the pH of their environment is 5.5-6.5. Some strains grow well within a 6.5-7.0 pH environment, but that’s atypical.
The pH of distilled water is typically 7. Tap water is often more alkaline than distilled water.
To lower the pH of the Rockwool Cube, reduce the pH of the water you intend to soak it in. Acidic substances reduce pH. Lemon juice, vinegar, citric acid, and phosphoric acid can all reduce pH safely.
Only add small drops of the acidic substance at a time. Stop when the water’s pH is at or near 6.1.
3. Soak Rockwool Cubes
Once your water’s acidity is close to 6, use it to soak the cubes. Immerse the Rockwool cubes completely in the water. Let them soak for about an hour.
Some growers soak Rockwool cubes for one entire day. That doesn’t hurt, but it’s not clear that it helps either.
4. Let Rockwool Cubes Drain
Let the Rockwool cubes drain in the sink. All excess water should seep out of the cube in ten minutes or less.
You can also drain the cube into a bowl. This way you can save the acidic water to use later.
The cube should end up damp, but firm. If the cube is soggy, let it drain longer.
5. Insert Cannabis Seeds
Set the cubes in the seed starting tray. Then, use tweezers to set your seeds inside the cubes.
Do not rest your seeds on top of the cubes. Make sure to press the seeds into the cubes a bit. Set your seeds about one-fourth of an inch deep inside the cube.
6. Cover Cubes and Seeds With Lid
Once you’ve filled the cubes with seeds, cover the seed starting tray. Set and tighten the humidity lid onto the tray of cubes.
A humidity lid should be plastic. It should fit securely onto the tray.
7. Store In Dark Environment
Store the tray in a dark environment. Then, leave it be. You will not have to re-water the seeds once they’re in the cubes.
Check on the seeds a few times a day. Or, set up a camera to keep track of them. When the seeds begin to sprout, move on to the next step.
8. Move Sprout to Nutrient Medium
You can move your seedling, cube, and all, directly to the soil, coco coir, or perlite. Make space for the cube in the growth medium, then set it down.
This works equally well with hydroponic setups and with potting materials. Set the seed and cube directly in water.
Everything You Need to Grow Cannabis Seeds
Growing cannabis seeds can be a personally enriching practice. It’s also a future-ready business. No matter what you want to grow, or how you want to grow it, we’ve got you covered.
Choose a great seed bank such as ILGM to find the exact seed you need. Our community shares strategies, resources, and personal experiences with a wide range of cannabis crops.
If you’re wondering how a strain might affect you, why not read our strain reviews? Every variety is different. What you do with those differences is up to you.


